

Let’s talk about capturing mouth-watering food photos that not only look appetizing but also tell a scrumptious story. As an experienced graphic designer and creative director, I’ve learned some valuable lessons on what makes food photography truly shine. So, let’s dive into these essential dos and don’ts to help elevate your food photography game.
The secret of success in life is to eat what you like and let the food fight it out inside
– Mark Twain
Do: Prioritize Natural Light
Nothing beats the beauty of natural light when it comes to food photography. Whenever possible, choose a location near a window or shoot outdoors to capture the true essence and colors of your dish. Avoid using harsh direct sunlight or artificial light, as it can create unwanted shadows and reflections.
Don’t: Rely on Flash
Flashes can create an unnatural look and wash out the colors in your food photos. Instead, use reflectors or diffusers to manipulate natural light, ensuring even illumination and a more appetizing appearance.
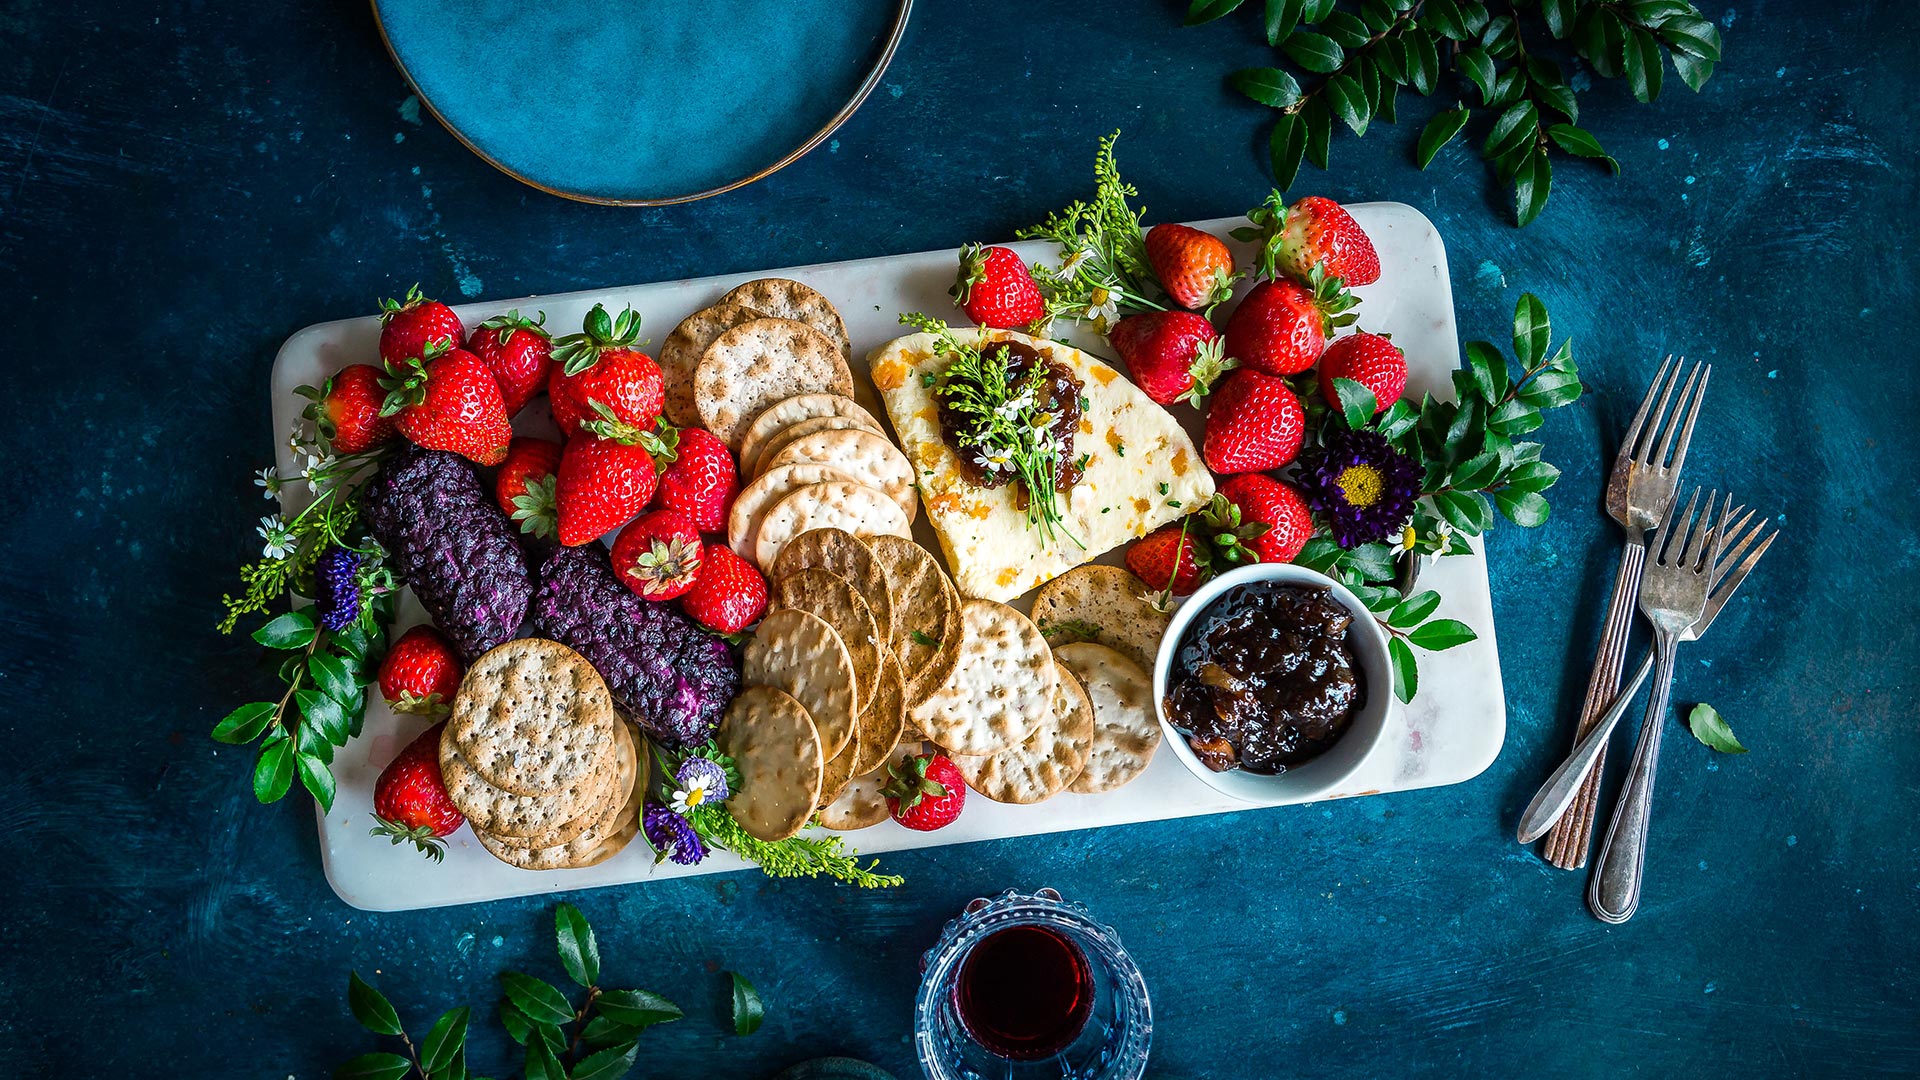
Do: Pay Attention to Composition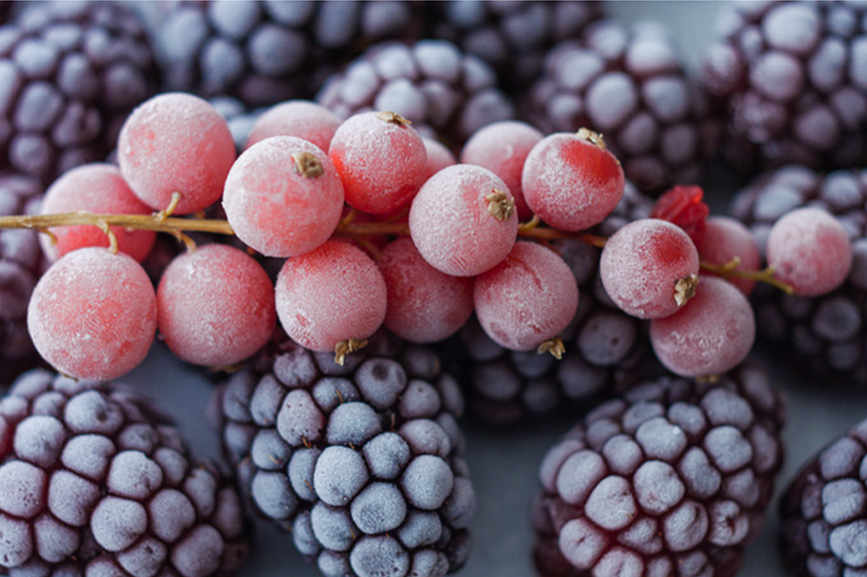
The way you arrange your food and props on the plate or in the frame can make all the difference. Experiment with different angles and perspectives, and don’t be afraid to get close and personal with your subject. Utilize the rule of thirds, leading lines, and negative space to create a balanced and visually appealing composition.
Don’t: Overcrowd Your Frame
Less is often more when it comes to food photography. Avoid cluttering your frame with too many elements or props, as it can distract from the star of the show – the food. Instead, choose a few relevant and complementary items to enhance your dish without overpowering it.
Do: Tell a Story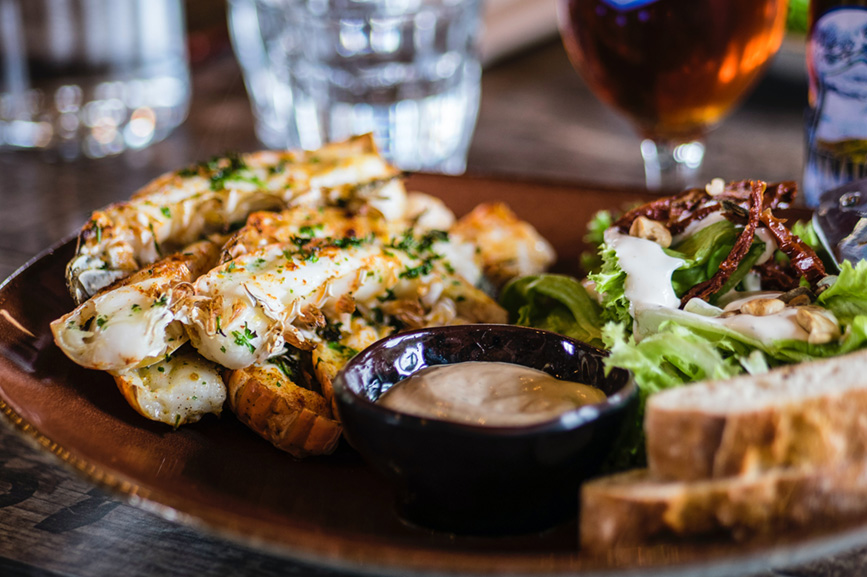
A great food photo goes beyond just showcasing a dish; it tells a story. Think about the narrative you want to convey and use props, colors, and textures to evoke emotions and transport your audience to a specific time and place.
Don’t: Neglect the Details
Small details can make a significant impact on the overall appeal of your food photos. Ensure your plates are clean, your ingredients are fresh, and your garnishes are strategically placed. A little attention to detail can go a long way in creating that perfect shot.
Do: Edit Your Photos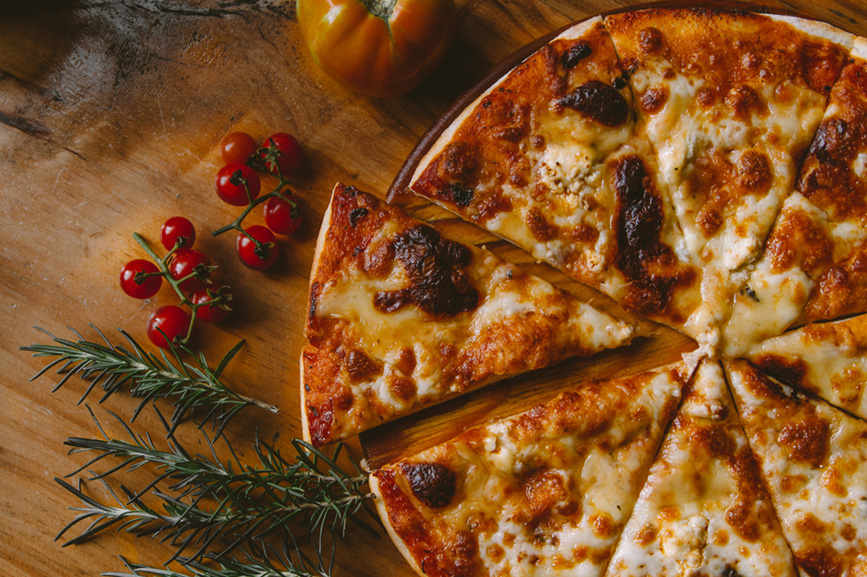
Post-processing is an essential step in achieving a polished and professional look. Adjust exposure, contrast, and saturation to enhance the colors and textures of your food. Use selective editing tools to fix minor imperfections and bring out the best in your photos.
Don’t: Over-edit
While editing is crucial, it’s essential not to go overboard. Keep your adjustments subtle and natural-looking, as over-editing can make your food appear artificial and unappetizing.
—
With these essential dos and don’ts in mind, you’re well on your way to mastering the art of food photography. Use these tips to elevate your food photography and create visually stunning images that leave viewers craving for more. Remember that creativity knows no bounds, so go ahead, explore, experiment, and most importantly, have fun!
